The year is 2066. The skies are hazy. What was once a bright and vibrant establishment is now nothing more than automated sustenance dispensary.
The checkout guys and girls are gone. Instead, you’re confronted by a robotic server. A programmatic humanoid that’s been trained to fill your fast food craving.
The arches are tarnished.
McDonalds isn’t what it used to be.
Okay, so it’s a little bit of an exaggeration. But let’s face it, we’re not too far from the end of human customer service.
Bots are cheaper, more efficient and can be trained to do just about anything. The great thing about cheaper processing power is that the masses can now start to take advantage of this technology. Virtually anybody can take advantage of it and implement it within their business.
Chatbots are an easy win. You can implement them into your business process ridiculously quickly. They’re able to boost customer engagement plus they’re great for lead capturing.
Want to build your own? By the end of this, you’ll have your first chatbot built and ready to deploy to Skype, Facebook and a whole bunch of other platforms. Start following along (there’s minimal coding involved!).
1. Setup a Bot Framework Account
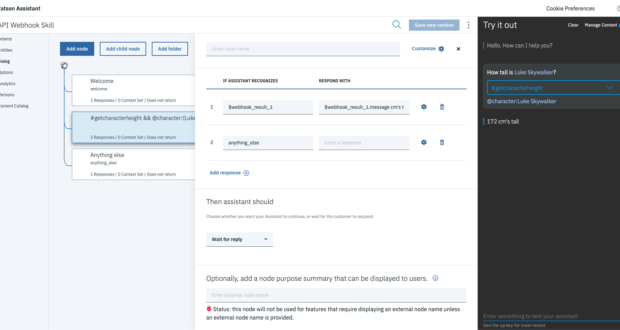
This bot is based on Microsoft’s Bot Framework. (Side Note: There’s another tutorial that I’ve put together that showed how to build a bot using IBM Watson.) Head to Bot Framework to sign up for an account.
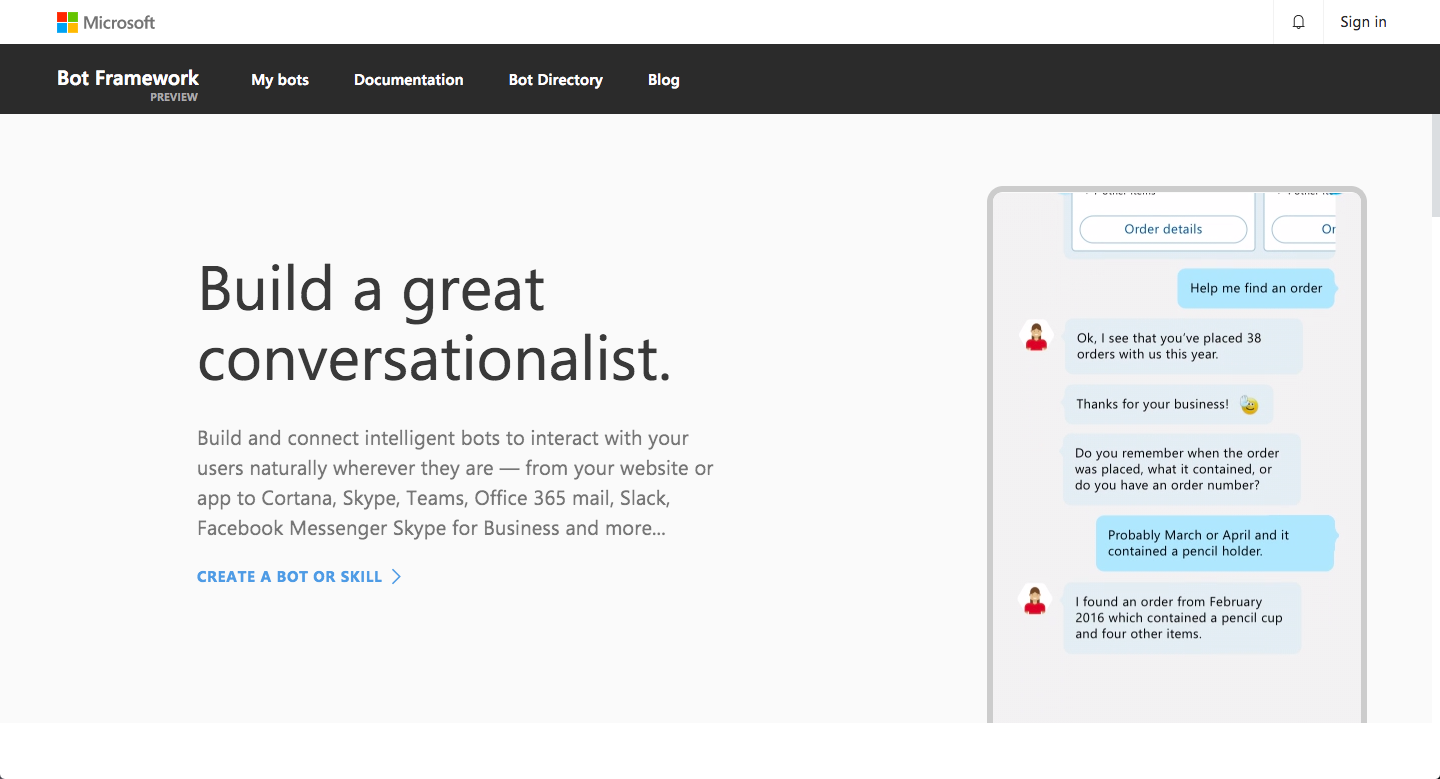
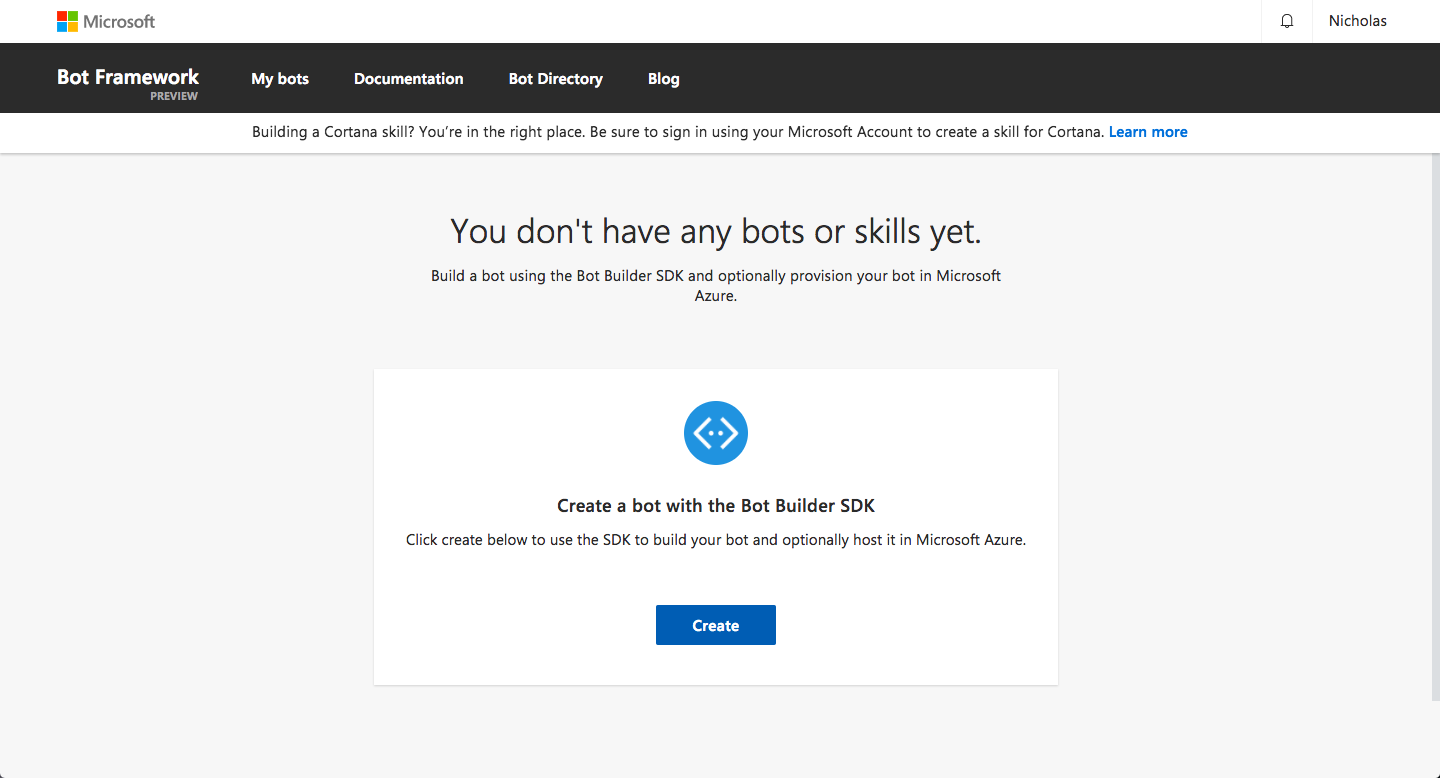
Once you’ve signed up, select Create to start creating your new bot.
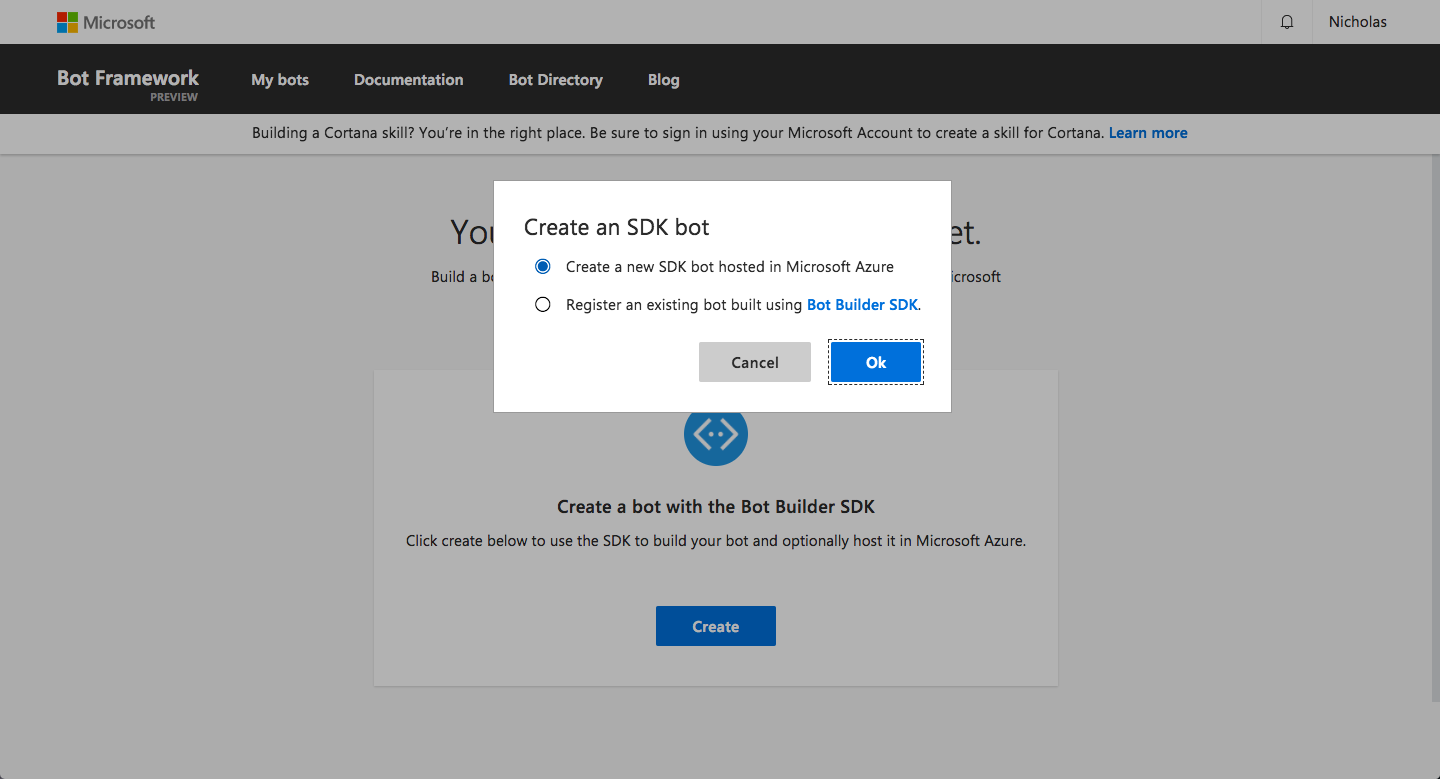
You’ll be prompted to create an SDK bot. For this, select Create a new SDK bot hosted on Microsoft Azure. This just means that your chatbot will be using Microsoft’s backend rather than having to figure out your own hosting solution.
2. Sign up to Azure
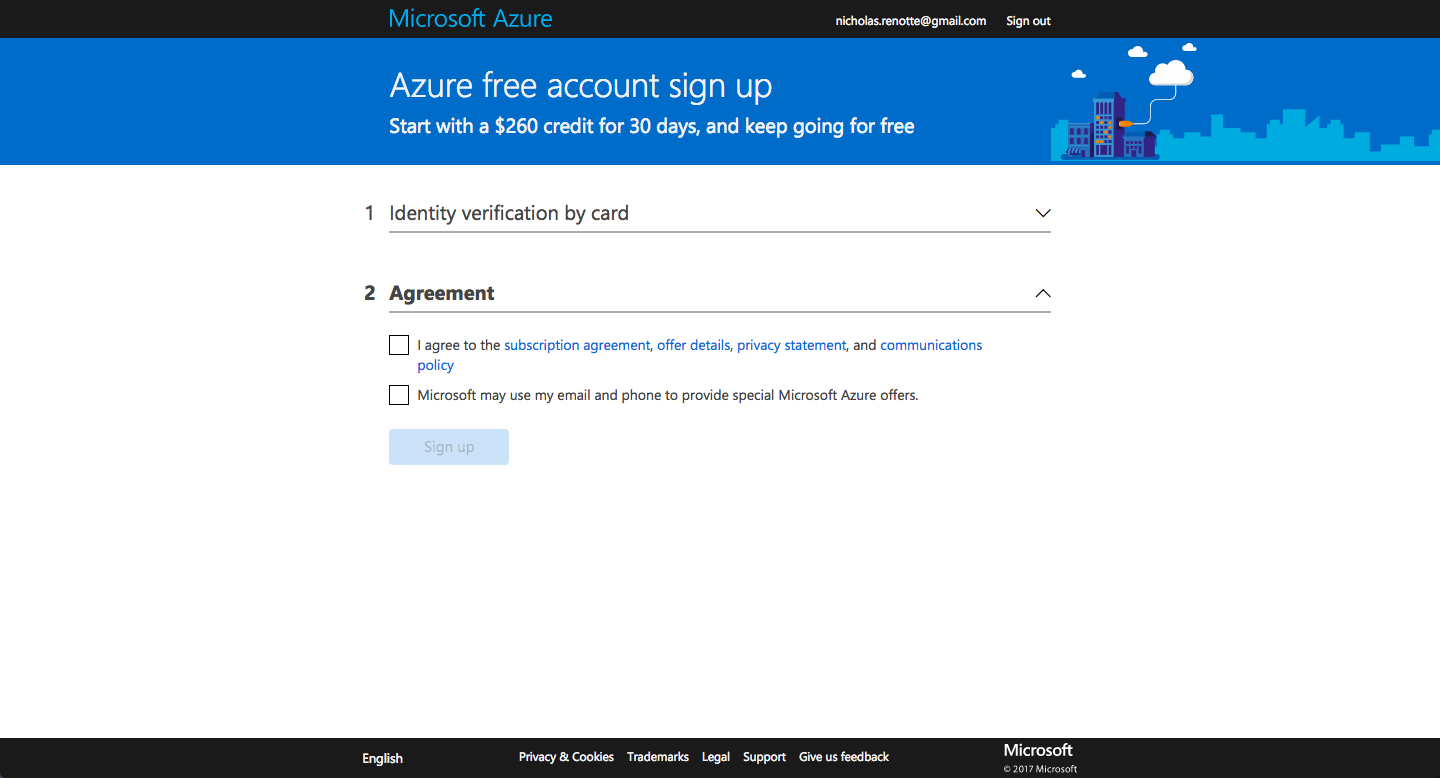
As you’re hosting your bot on Azure you’ll also need an Azure account. Head here to sign up> Sign up. Click all the necessary check boxes until you’ve created an account.
3. Create a new Service
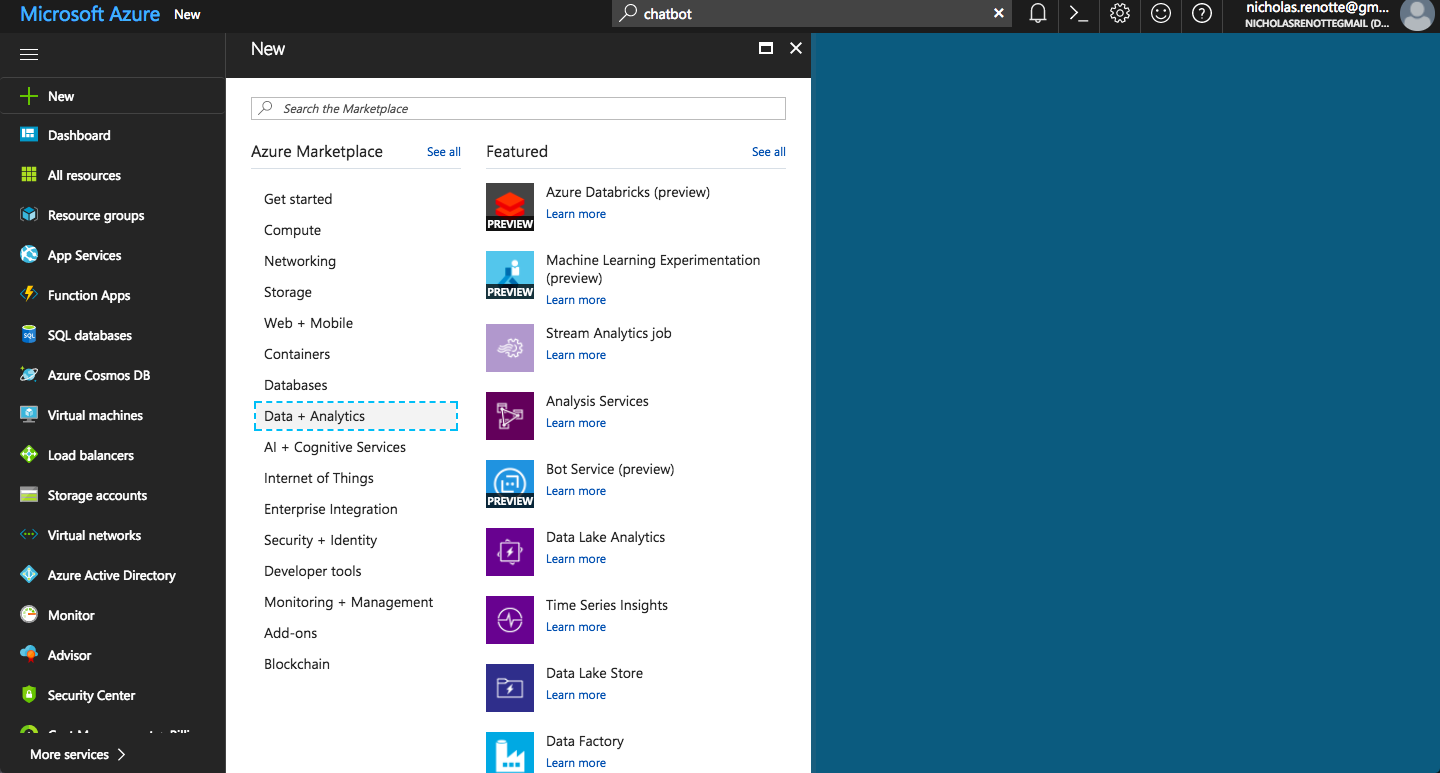
The next step is to create a new bot service. This creates a new bot instance that you can use to start coding. Click the green plus sign, then choose Data and Analytics and finally Bot Service (preview).
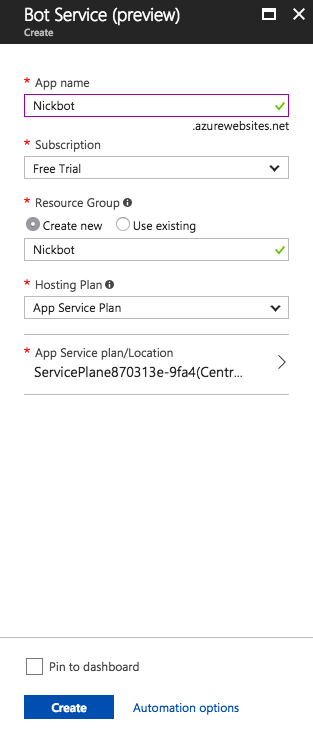
Create a name for your new bot and hit Create. Make sure you leave your subscription setting on Free Trial so that you can take advantage of the free Azure credits.
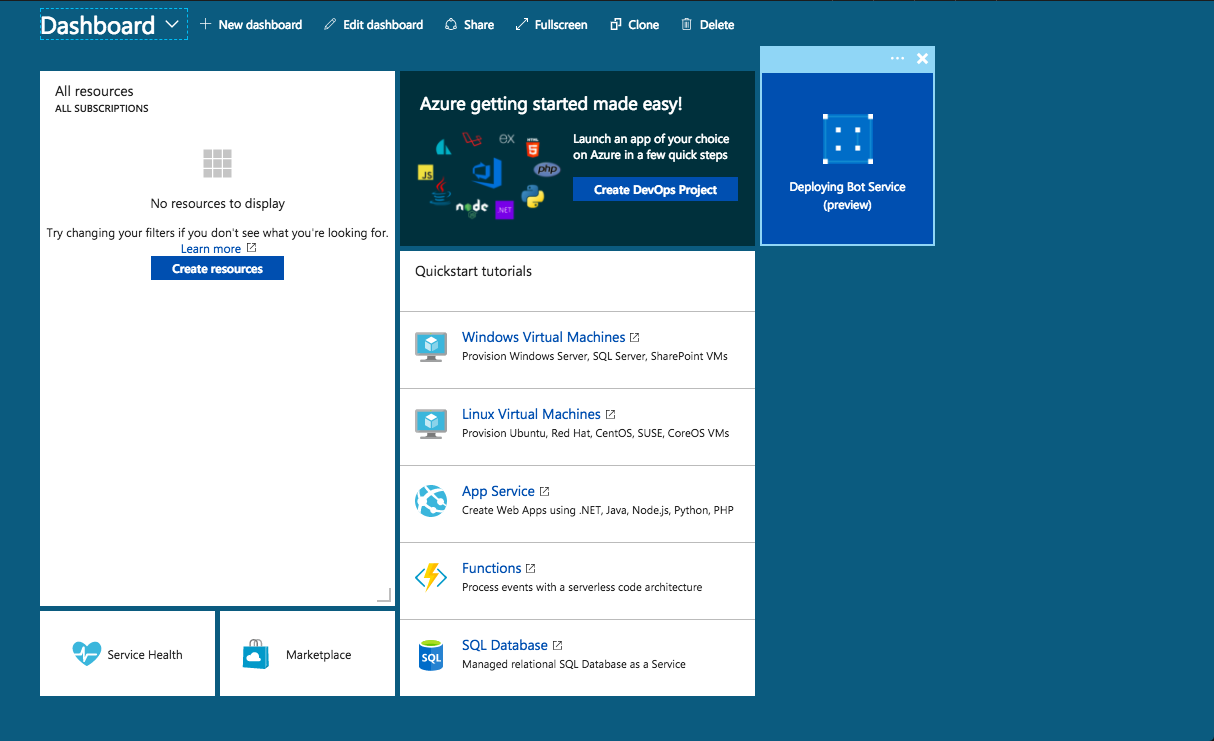
It should take a few seconds to validate your new chatbot. While that’s happening you’ll be redirected to your dashboard screen while the chatbot deploys.
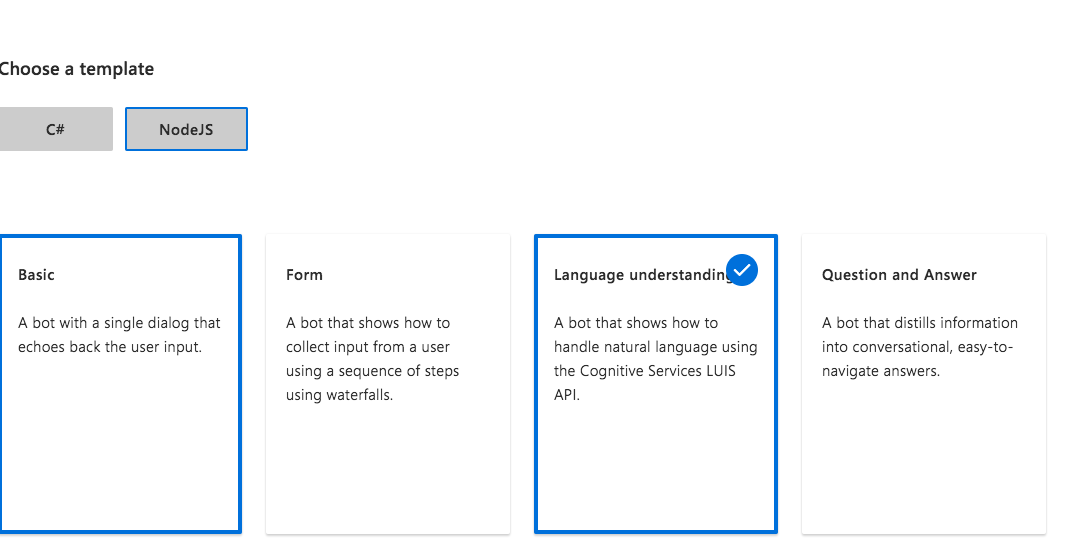
Once the bot is ready you’ll be prompted to select a bot type. Select NodeJS and Language understanding. This will allow you to take advantage of the Language Understanding Intelligence Service.
Click Create Microsoft App ID and password.
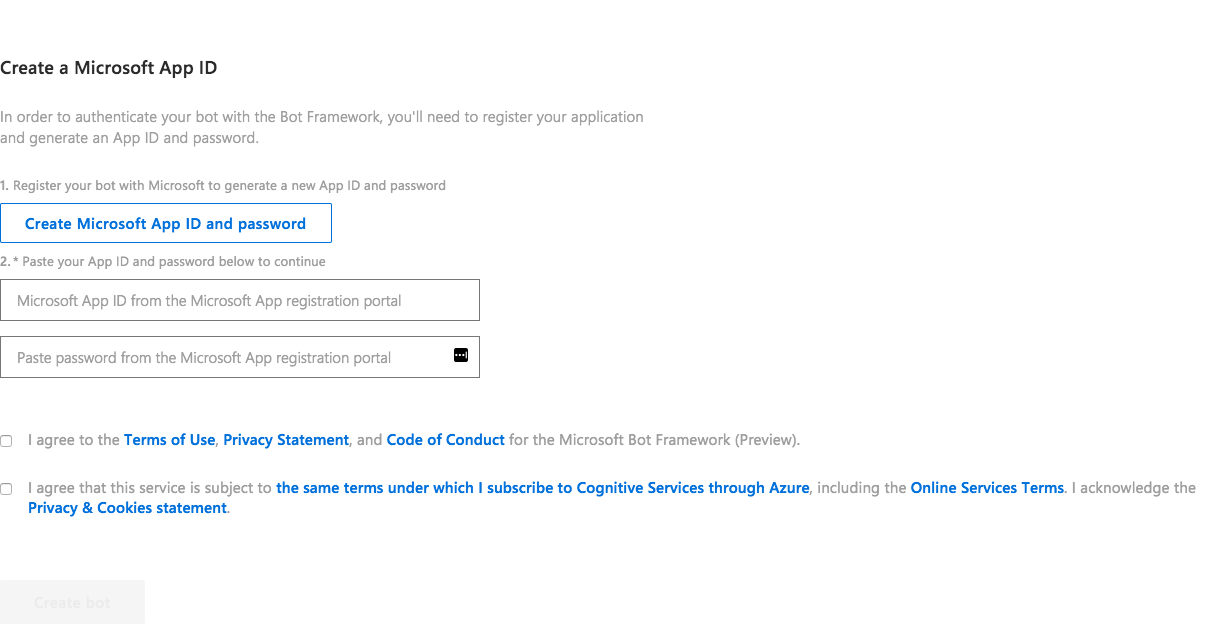
FIll out the form and create a new password you’ll need this for your bot configuration file. Finally hit Create bot.
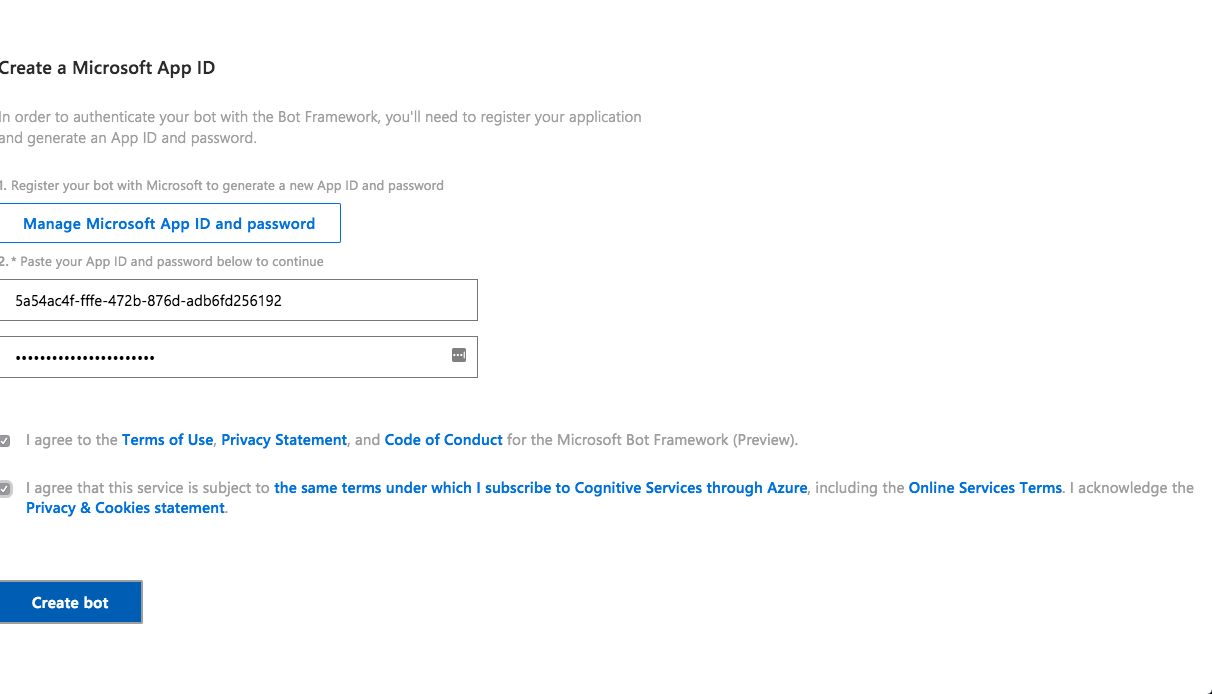
4. Hook up your bot to LUIS.
LUIS is the Language Understanding Intelligence Service offered by Microsoft, this is what will give our bot the ability to process user’s input. Sign in to your Microsoft account again and tick the required boxes to connect your bot to the LUIS service. The platform will then begin provisioning your bot.
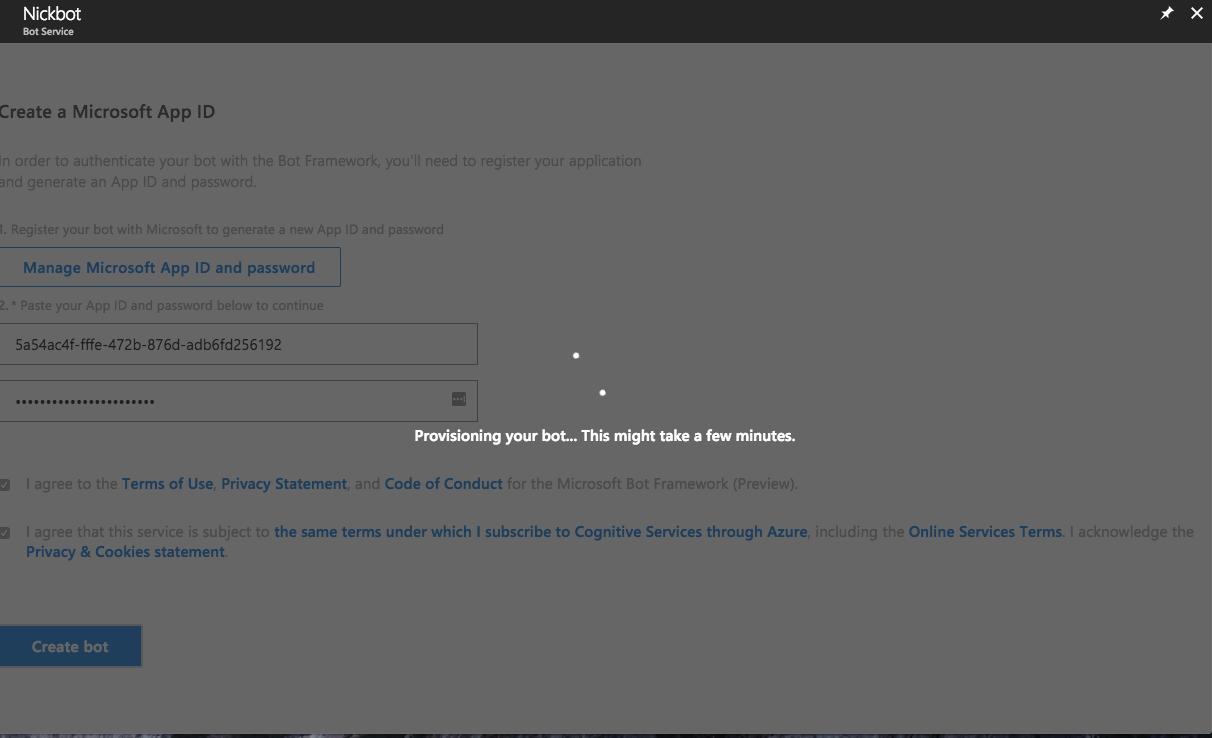
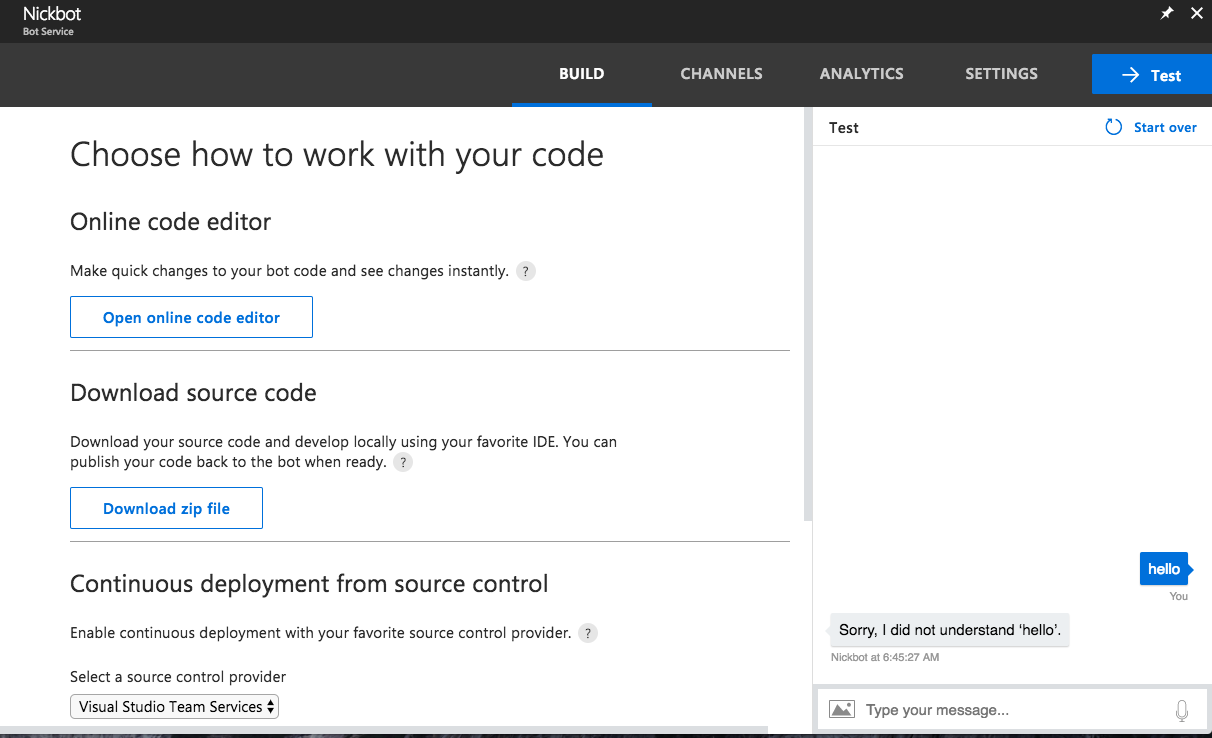
Once the bot is deployed, you can test it out. Don’t get too excited yet we haven’t trained it to actually do anything. To get to the test interface, select Test at the top of the page and start typing.
5. Train your bot
Now, is probably a good time to start training the bot. This isn’t done within the Microsoft Bot Builder framework but rather it’s completed inside of LUIS. Login to your LUIS dashboard by going here >> http://www.luis.ai and select your application.
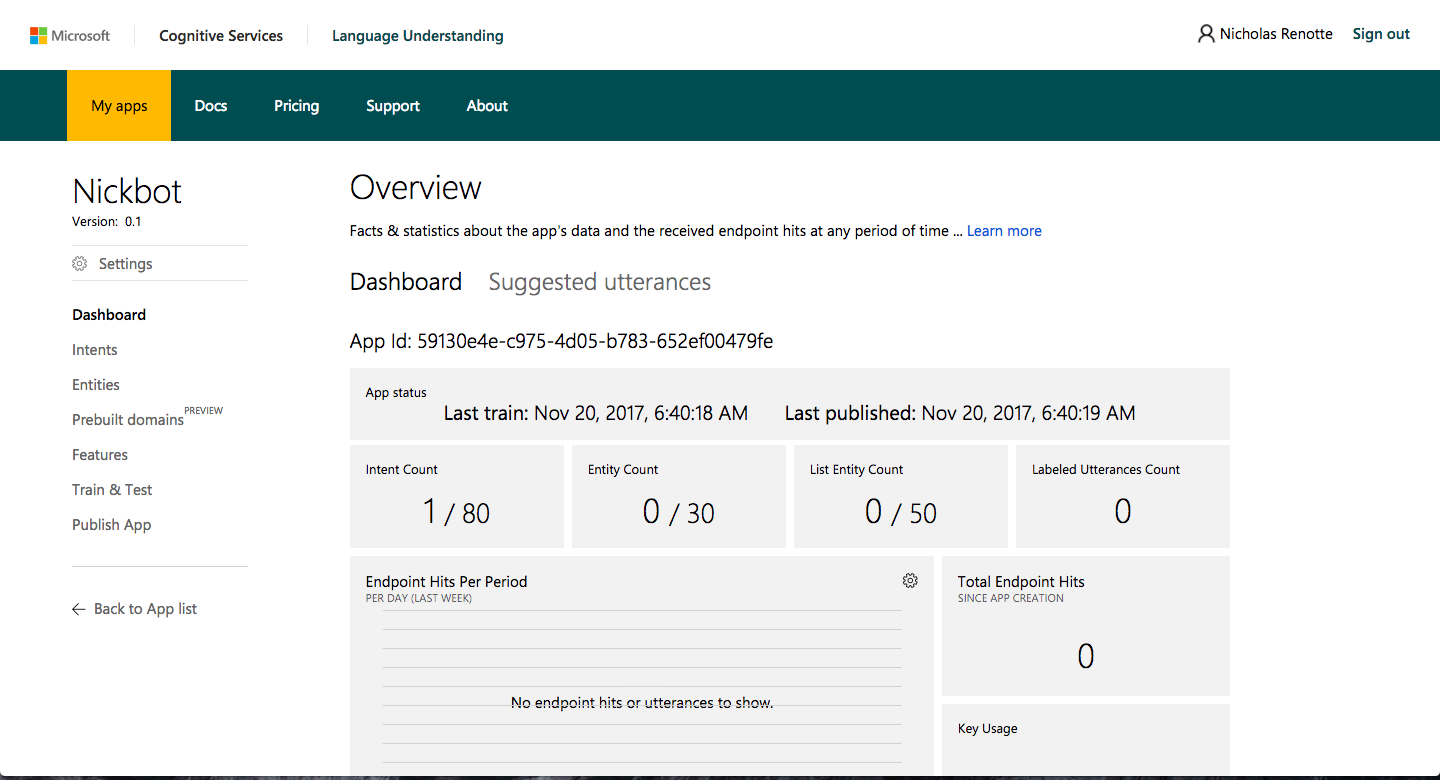
Rather than training your application from scratch you can use Pre Built entities. This is a nice touch from Microsoft as it means you don’t need to train from scratch. The service allows you to focus on building domain-specific intents and entities.
To get up and running faster, select the Communication domain and select Add.
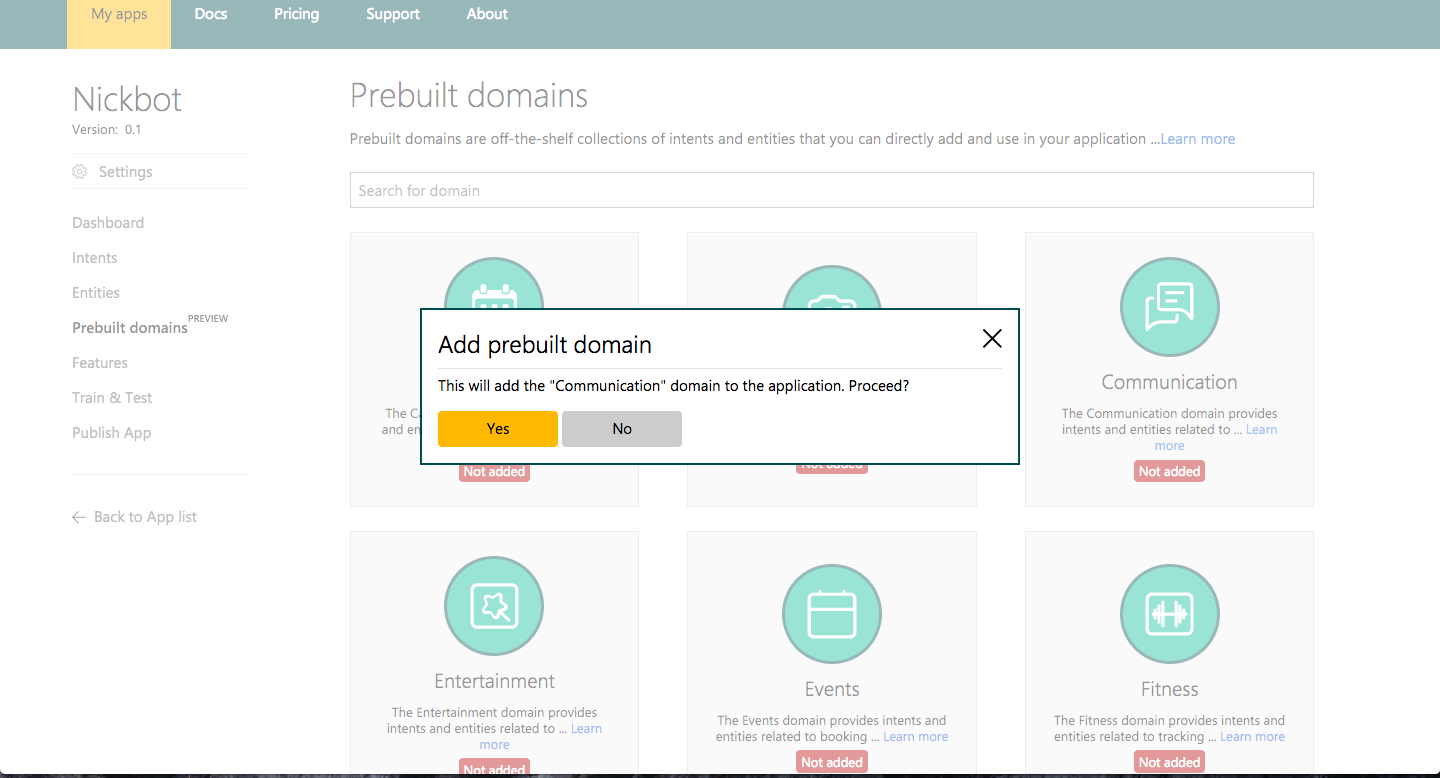
The prebuilt domain should now be associated to your chatbot. This is the main difference versus building a bot using the IBM Watson API. (Side Bar: After actually reviewing a lot of the prebuilt domains there’s still a lot of customisation required to get a bot that actually speaks.)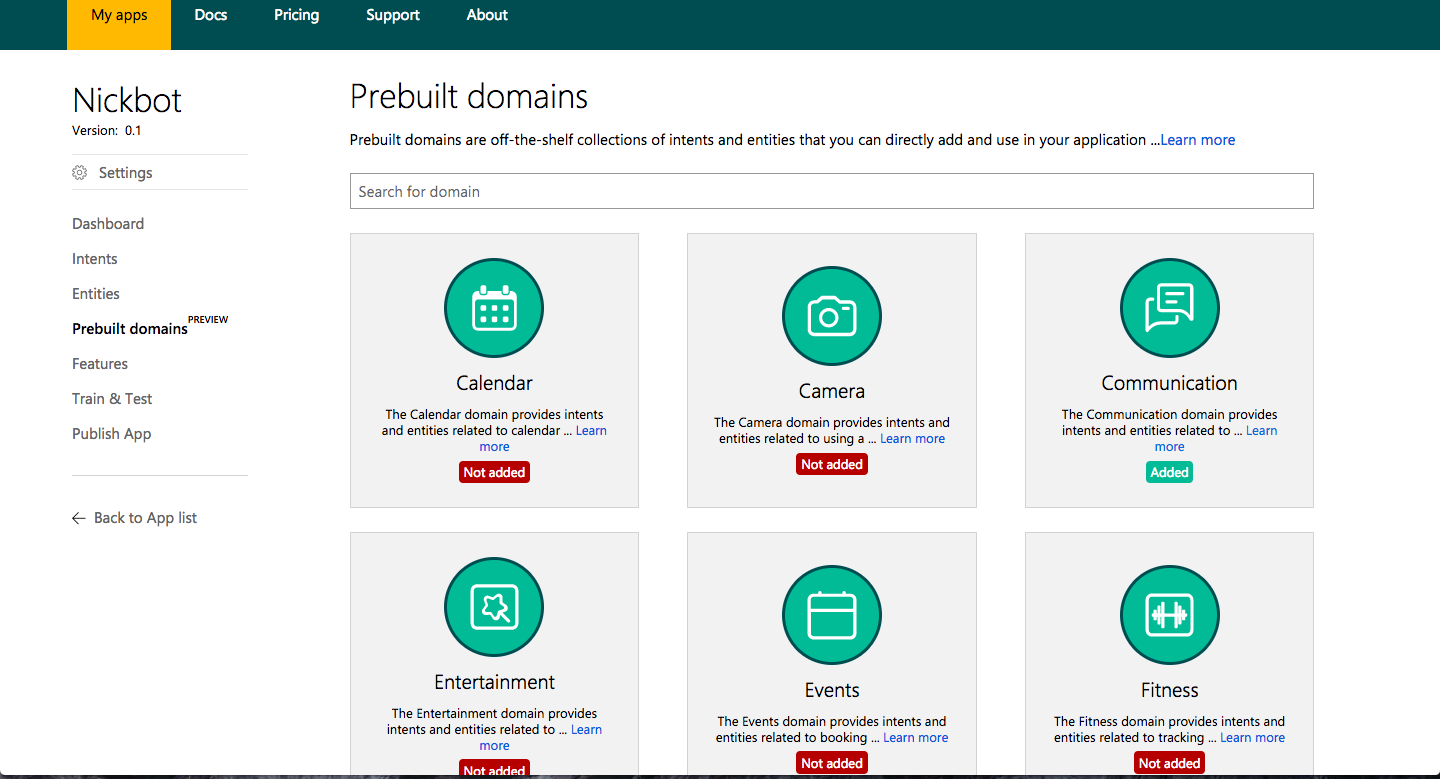
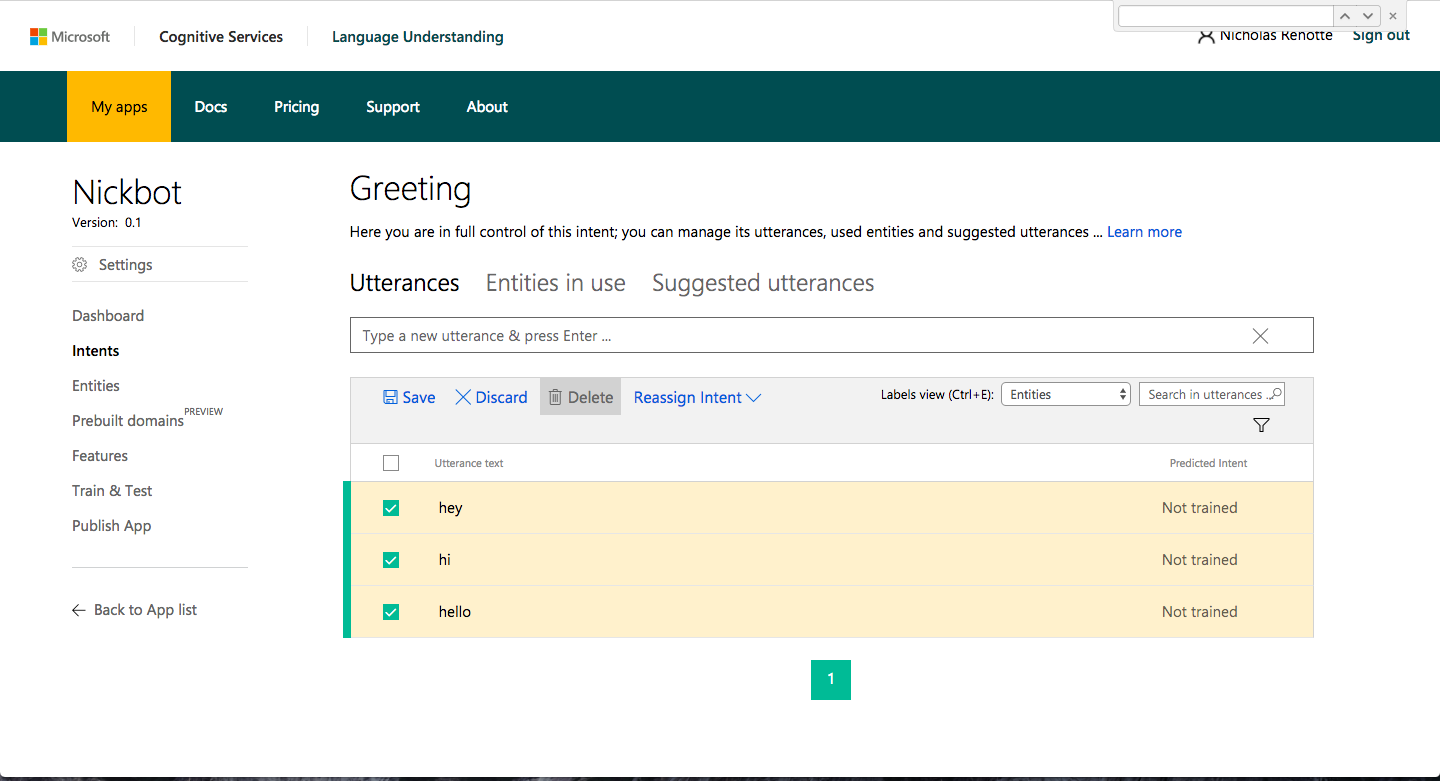
Select Train and Test on the right-hand side of the page. This will allow you to train your bot to recognise intent and entities. Rather than spending too much time here, navigate back to intents and add a new Utterance (phrase) so our bot recognises a greeting.
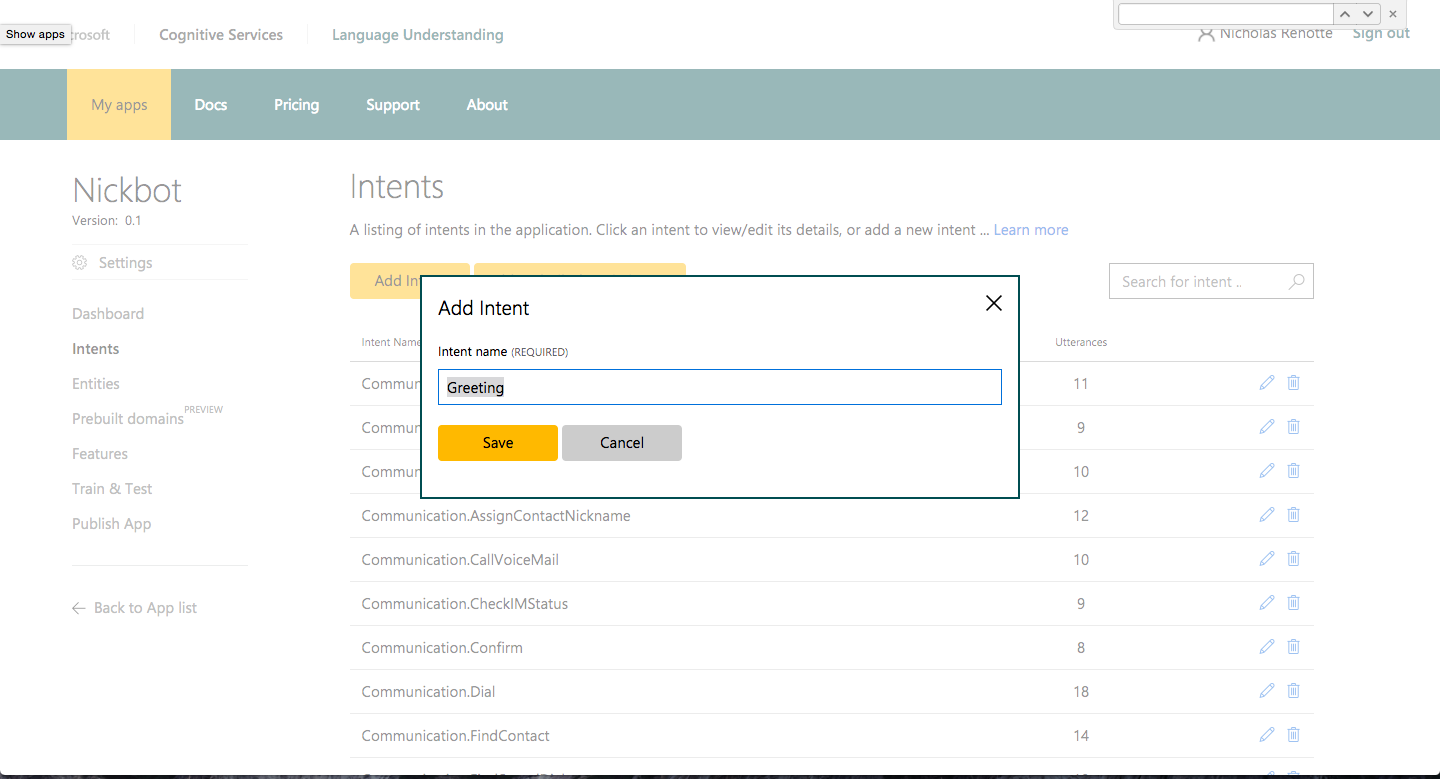
Add in a few utterances and hit Save.
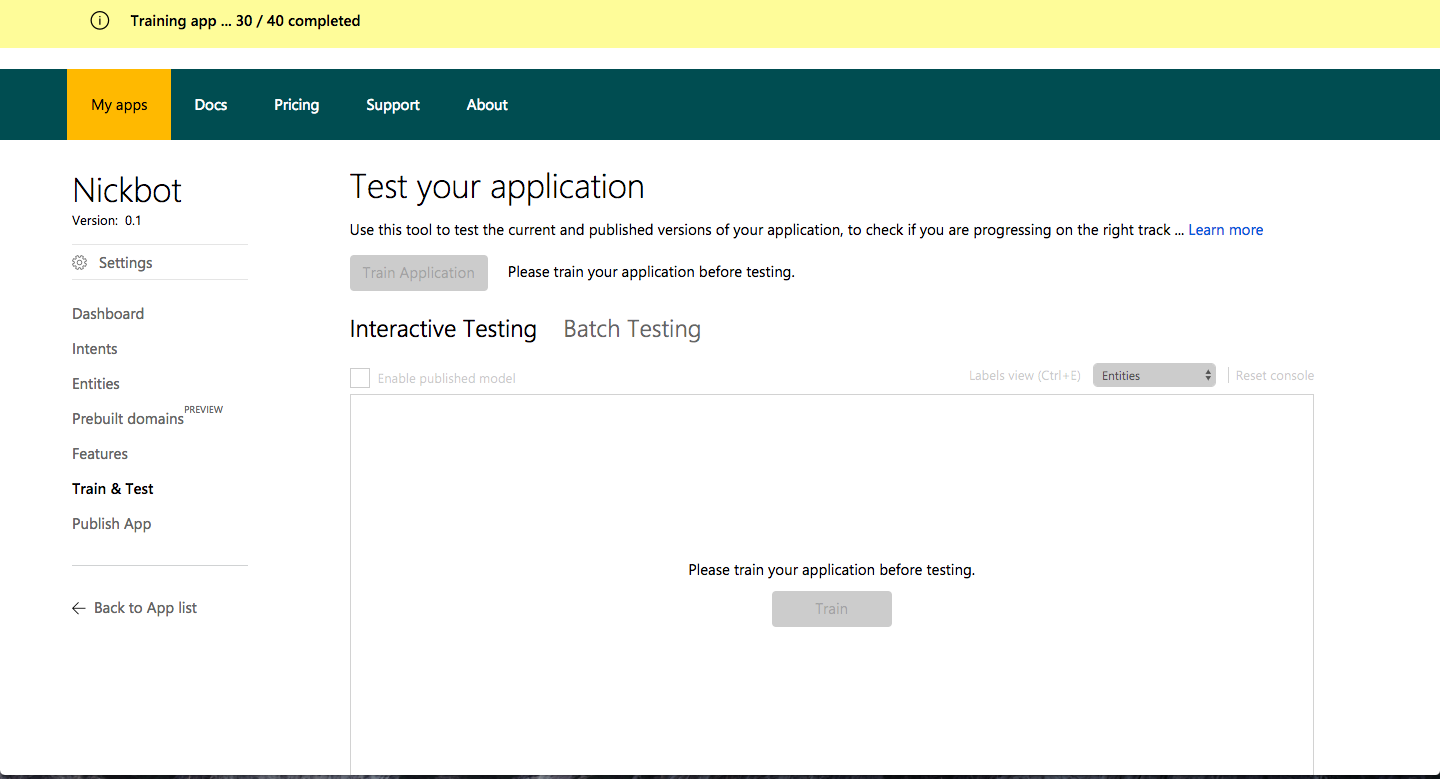
Jump back to train and test and select Train.
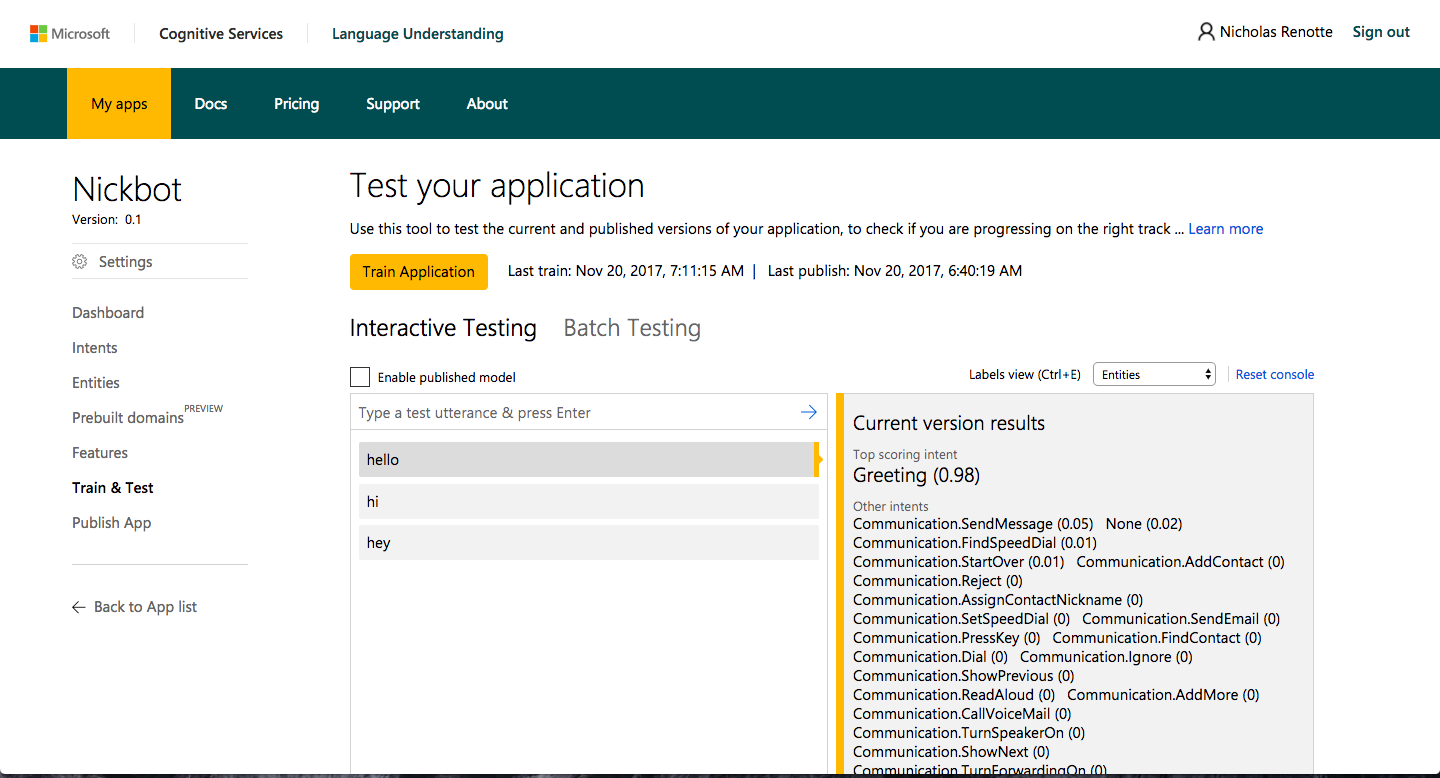
For each test, the service will return the probability of each intent. In this case, we said “hello”, “hey” and “hi” and it predicted that the intent was Greeting with a probability of 98% each time.
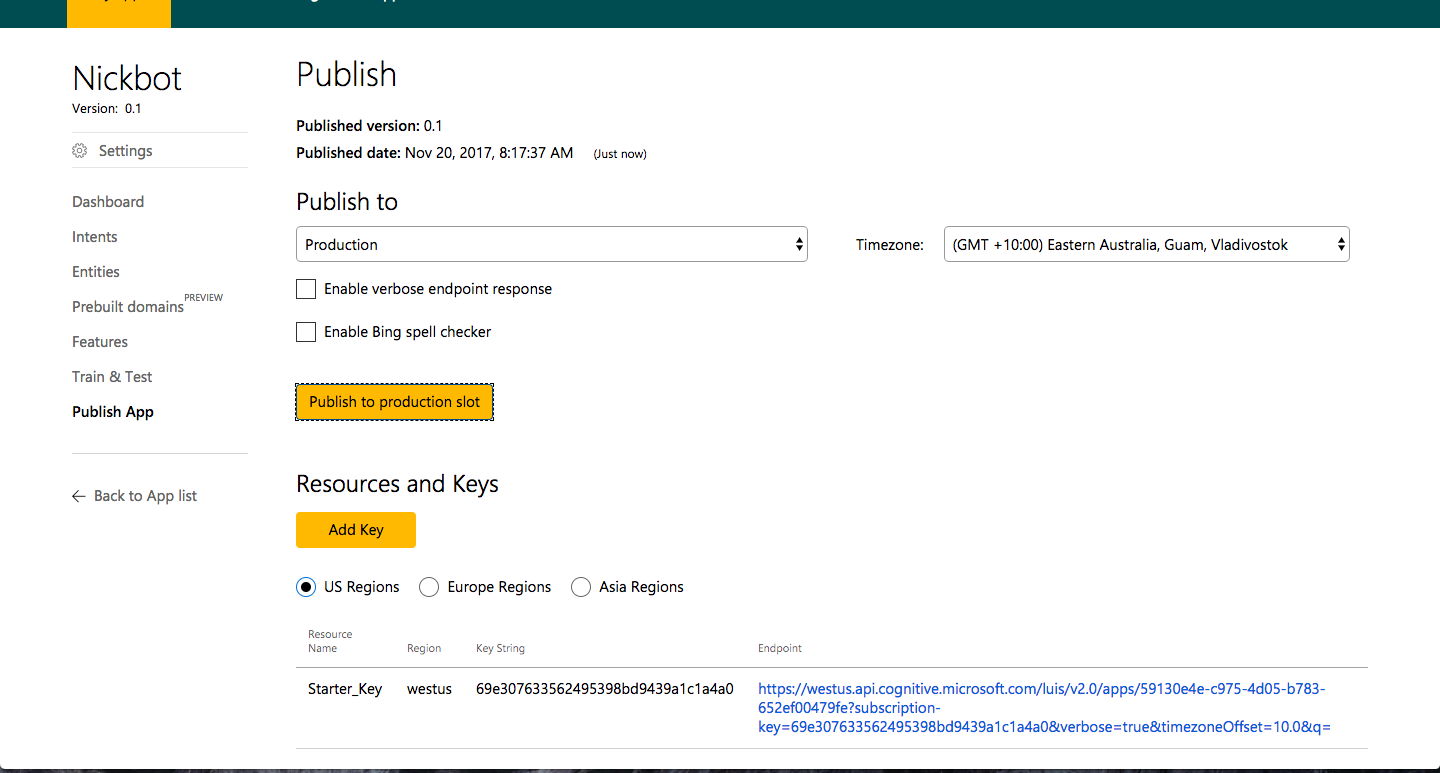
Once you’ve finished training, you’re ready to publish your app. You might need to log out and back in for this to be available.
6. Teach your bot to speak
Jump back to the bot developer framework and open the Azure code editor. Select Open online code editor.
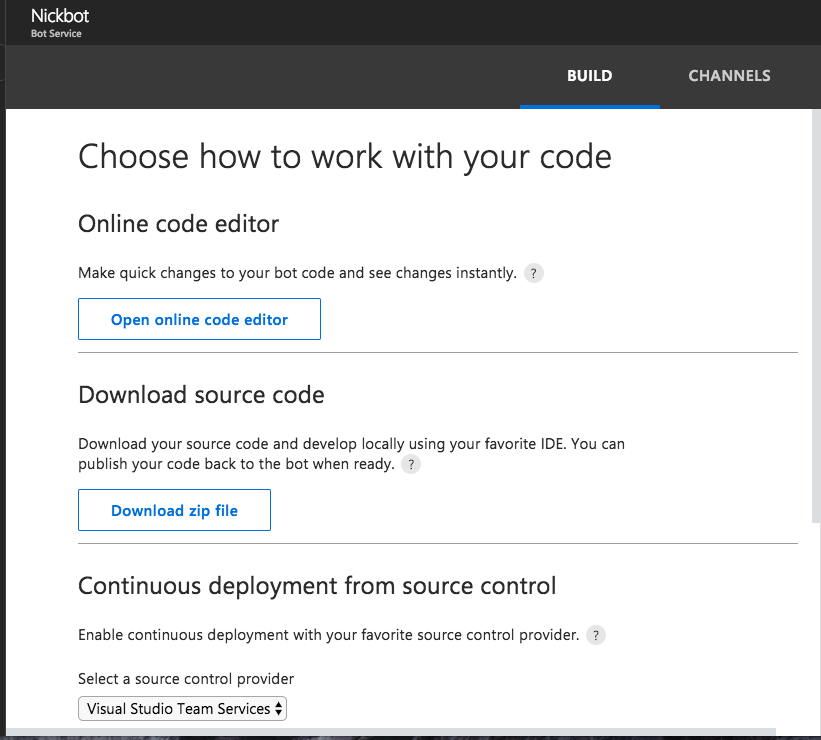
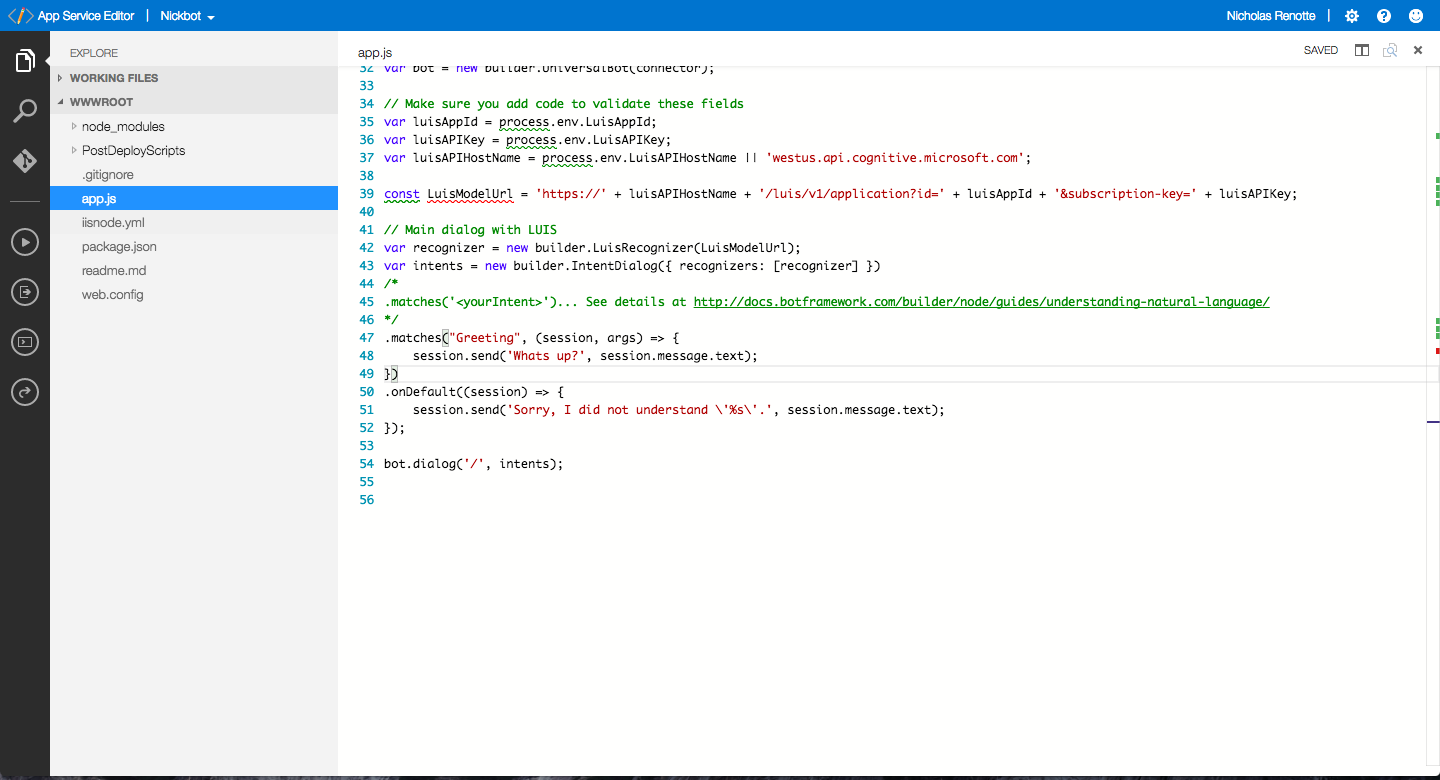
To get your bot to respond to your greeting add this to your Azure code just about the default message.
intents.matches('Greeting', (session, args) => {
    session.send('Whats up?', session.message.text);
})
Your code should look something like this
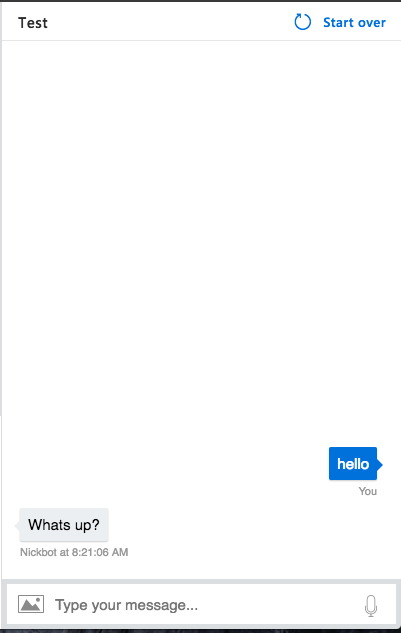
Select Test to test it out:
7. Deploy to another platform
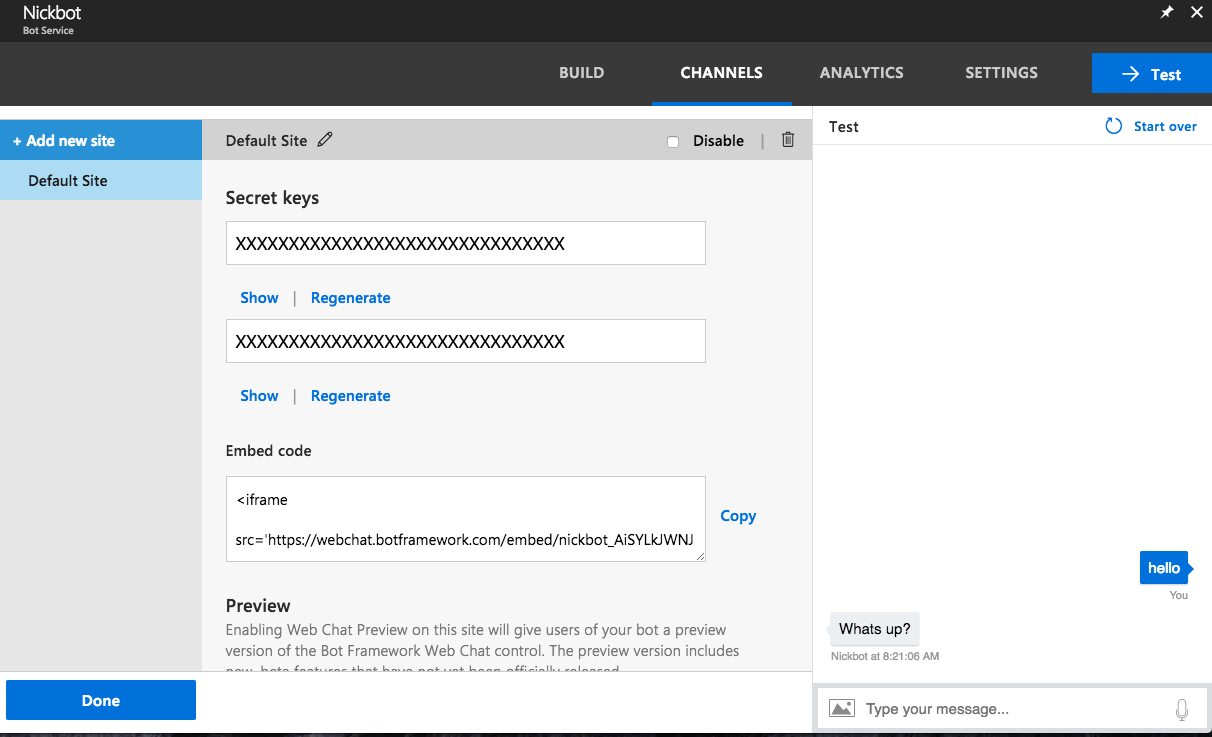
You can deploy your chatbot to a number of other services as well. Go to Channels. Click Get Bot Embed codes.
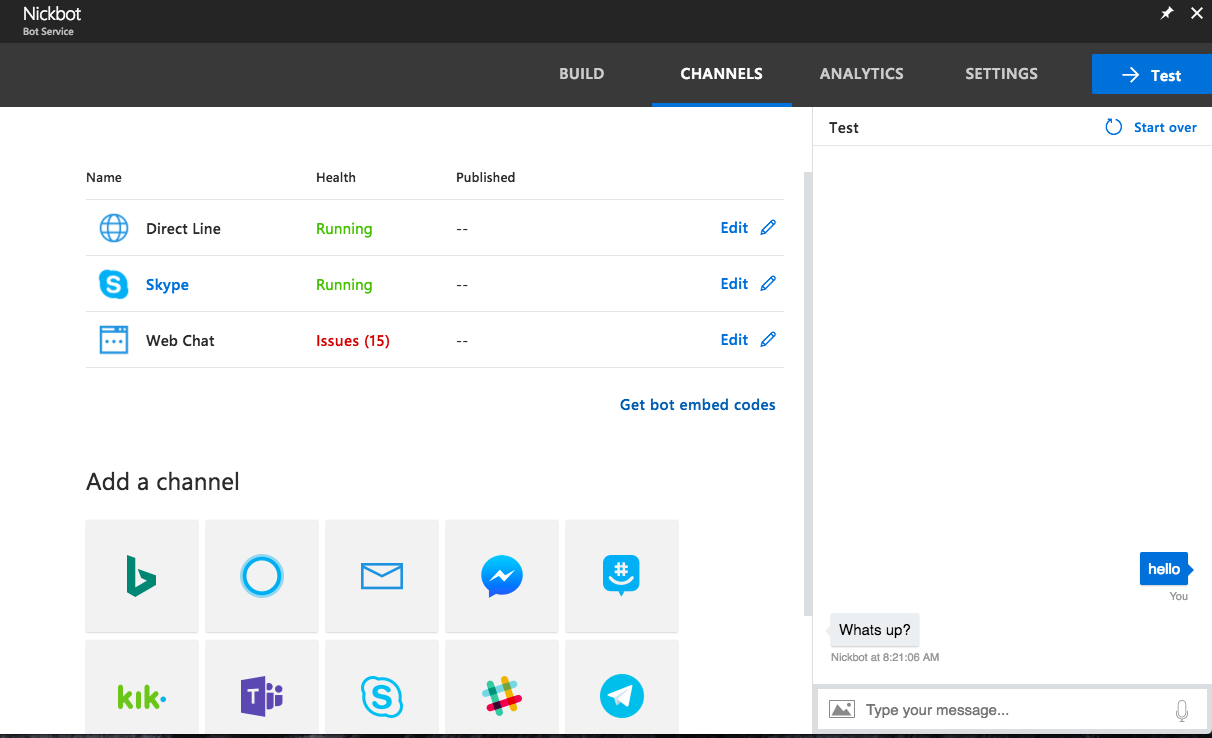
Copy down the script and replace the secret key with yours. Throw this up on your web page and away you go.
Have an idea for a bot? Just start building it! Take the first step and register for the service. Alternatively, if you’re interested in trying your hand out with the Watson API check this out>> https://www.linkedin.com/pulse/how-build-super-basic-chatbot-5-minutes-nicholas-renotte/
